Essential Guide to The Power Rack Squat
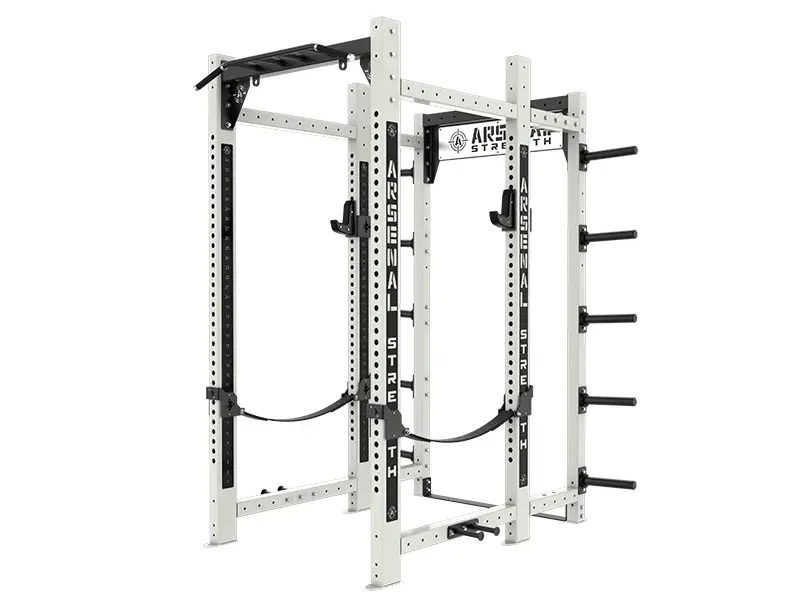
A power rack (also known as a squat rack) is a must have for anyone lifting heavy. This piece of equipment is found in most gyms and allows you to squat and do other barbell exercises with more safety and efficiency. But for the power rack to work for you, you need to set it up right. Proper adjustments will support your lifts, reduce the risk of injury and overall performance of your workout. In this article we will go over how to adjust and use the key features of a power rack for squatting, including J-cups, spotter bars and hand placement.
Benefits of Using a Power Rack for Squats
Using a power rack for squats gives you:
- Increased Safety: Power racks are a safe environment to squat, no risk of dropped weight or loss of control.
- Better Form: The uprights help you maintain good form and technique, so you engage the right muscles and don’t put unnecessary strain on your back and joints.
- More Strength: Power racks allow you to focus on the squat movement and not the weight, so you can lift heavier and build strength faster.
- Versatility: Beyond squats, power racks can be used for bench presses, deadlifts and more, so it’s a versatile addition to any gym setup.
By having a power rack in your routine you can lift with confidence knowing you have the support and safety to go heavy.
Choosing the Right Squat Rack for You
When choosing a squat rack you need to consider:
- Space: Measure the space in your home gym or training area to make sure the rack fits. If you have limited space look for space efficient designs or foldable options.
- Weight Capacity: Choose a rack that can hold the weight you plan to lift. Heavy duty racks are for serious lifters or commercial use, they provide the durability and stability for heavy lifting.
- Features: Think about the exercises you want to do and the features you need, dip bars, spotter arms or pull-up bar. These additional features can make your rack more versatile.
- Budget: Set a budget and look for racks that fit your needs within that budget. While prices vary, investing in a good rack is crucial for safety and performance.
By considering these factors you can get a squat rack that fits your space, meets your lifting goals and has the features you need for a full workout.
J-Cup Adjustments for Squats
The J-cups (also called J-hooks) are the main part of the power rack. They hold the barbell in place before and after your lifts. Adjust the J-cups properly and you can unrack and re-rack the barbell smoothly and with minimal stress on your joints and muscles.
When adjusting the J-cups for squats set them at shoulder height. This will allow you to unrack the bar with a slight bend in your knees and the barbell will be easy to lift without forcing you into an awkward starting position. To adjust them twist the J-cups to unlock them, slide them out of the current hole and position them at the desired height. Make sure both J-cups are at the same height so the barbell is balanced and not unevenly loaded which can cause injury or poor performance.
If you share the power rack with others or use it for different exercises you may want to have multiple sets of J-cups. For example you can have one set for squats and another for bench press so you can switch between exercises quickly during your workout.
J-Cup Stability and Safety
J-cup stability is crucial for safety. Always place the J-cups on the outside of the power rack’s uprights. This way if you rack the bar unevenly the J-cups won’t rotate inwards which can be dangerous.
For extra security many lifters use sandwich style J-cups. These have a wrap around design that hugs the uprights for a more secure fit than standard J-hooks. When choosing J-cups make sure they are compatible with the dimensions of your rack’s tubing and hole spacing so they don’t wobble or misalign. Another option is roller J-hooks which allow you to center the bar easily but must be designed carefully so they don’t swing laterally.
Regular check up on the J-cups is also important. Over time wear and tear can damage them so check for any signs of damage to ensure they continue to provide the safety you need during your workouts.
J-Cup Material for Durability
The material of the J-cups is just as important as the placement and stability. Most J-cups have a steel frame with a protective lining to prevent damage to the barbell. Common materials are Ultra-High Molecular Weight (UHMW) plastic which is widely used because of its excellent wear resistance and low friction.
Some high end J-cups have acetal plastic rollers which have greater tensile strength than UHMW and similar durability. Others may have metal rollers with nickel phosphorus coating which increases durability and hardness. You can also customize your J-cups by applying UHMW tape or sheets for extra protection.
When choosing J-cups think about how often you lift and what exercises you do. The right material will give you durability and protect your barbell from wear.
Spotter Bars in Squat Safety
One of the most important feature of squat racks is the spotter bars. These bars act as a safety net if you fail a lift, especially during squats and bench press. Spotter bars should be adjusted so they sit just below your lowest squat position. This way you can squat fully and if needed you can drop the bar onto the spotter bars.
For bench press, position the spotter bars just below chest level when lying on the bench. You want them high enough to catch the bar if you fail but low enough so they don’t interfere with the range of motion during a successful lift.
To add extra safety, consider using spotter arms or straps. Spotter arms are versatile and you can use them outside the rack, while safety straps absorb shock better than rigid bars and can reduce barbell damage during a failed lift. Before each workout, test the safety setup by doing a controlled failure to make sure the spotter bars will catch the weight properly.
Spotter Bar Placement for Squats and Bench Press
Setting the spotter bars at the right height in squat racks is important for both safety and performance. For squats, the spotter bars should be about 2 inches below your lowest squat position. This way you can squat fully and still have protection if you need to bail out of a lift.
For bench press, set the spotter bars just below chest level so they don’t interfere with the bar’s contact with your chest during normal lifts but high enough to catch the bar if you fail. If the lowest setting for the spotter bars is still too high, consider raising the bench using plates or plywood to get the perfect alignment.
Remember, the spotter bars are there to prevent catastrophic injury, not to catch every failed rep. As always, proper form, proper weight, and technique will go a long way in keeping you safe while lifting.
Setting Up and Doing Power Rack Squats

To set up and do power rack squats:
- Position the Rack: Place the rack in a stable location, the uprights are anchored to the floor.
- Adjust the Height: Set the rack’s height to your squat stance, the bar should be on the hooks at shoulder level.
- Load the Bar: Load the bar with weight, make sure it’s locked in place.
- Do the Squat: Stand in the rack, grip the bar and do the squat, keep your back straight and knees behind your toes.
- Rack the Bar: After the squat, rack the bar on the hooks, make sure it’s locked in place.
By following these steps you can squat safely and effectively in a power rack and maximize your workout and minimize the risk of injury.
Hand Position on the Barbell: Grip and Technique
Hand position is important for both squats and bench press. When placing your hands on the barbell grip width is a key factor that affects muscle activation and performance.
For squats your hands should be in a position that feels natural and allows you to support the bar on your back. A wider grip will give you more stability by allowing more room to engage your upper back muscles. If you have shoulder mobility issues you can adjust the grip slightly narrower to reduce discomfort.
For bench press grip width affects what muscles you target. A standard grip (1.5 times shoulder width) is a balance between chest and triceps. A wider grip will target more chest but can put more strain on the shoulders while a narrower grip will target more triceps and give you more range of motion.
Thumb Positioning Techniques for Safety and Performance
There are different thumb positioning techniques that can affect both safety and performance. In pressing movements like bench press or overhead press use a full grip with your thumb wrapped around the bar for safety. This grip will prevent the bar from slipping out of your hands during the lift.
Some lifters prefer the false grip with the thumb over the bar for more chest and back muscle activation. But this grip is higher risk since the bar is less secure. If you use a false grip make sure to keep control of the bar throughout the lift to avoid accidents.
Common Mistakes to Watch Out for in Power Rack Squats
Avoid these common mistakes when doing power rack squats:
- Insufficient Warm-Up: Failing to warm up can lead to injury or poor form. Always start with a proper warm-up to get your muscles and joints ready.
- Incorrect Form: Allowing your back to arch or your knees to extend past your toes can put unnecessary strain on your joints. Keep your form in check throughout the movement.
- Inadequate Weight: Using too little weight can lead to poor form or inadequate strength gains. Choose a weight that’s challenging but manageable to get the most out of your training.
- Not Racking the Bar: Failing to rack the bar can result to injury or damage to the rack. Always make sure the bar is locked in place after each set.
By following these guidelines and avoiding common mistakes you can safely use a power rack.
Power Rack Mastery for Better Squats
Using the power rack right is key to getting the most out of your squats and heavy lifts. From adjusting the J-cups to spotter bar placement and hand position every detail counts. Whether you’re a newbie or experienced lifter make sure to check your equipment and form regularly.
By taking the time to set up your power rack right and knowing the J-cups and spotter bars you can lift more and minimize the risk of injury. The power rack is not just to let you lift more but to lift more safely and effectively so you have the structure and security to go heavy.
Additional Resources:
Bilateral Leg Press
Pendulum Squat Machine
Belt squat Machine
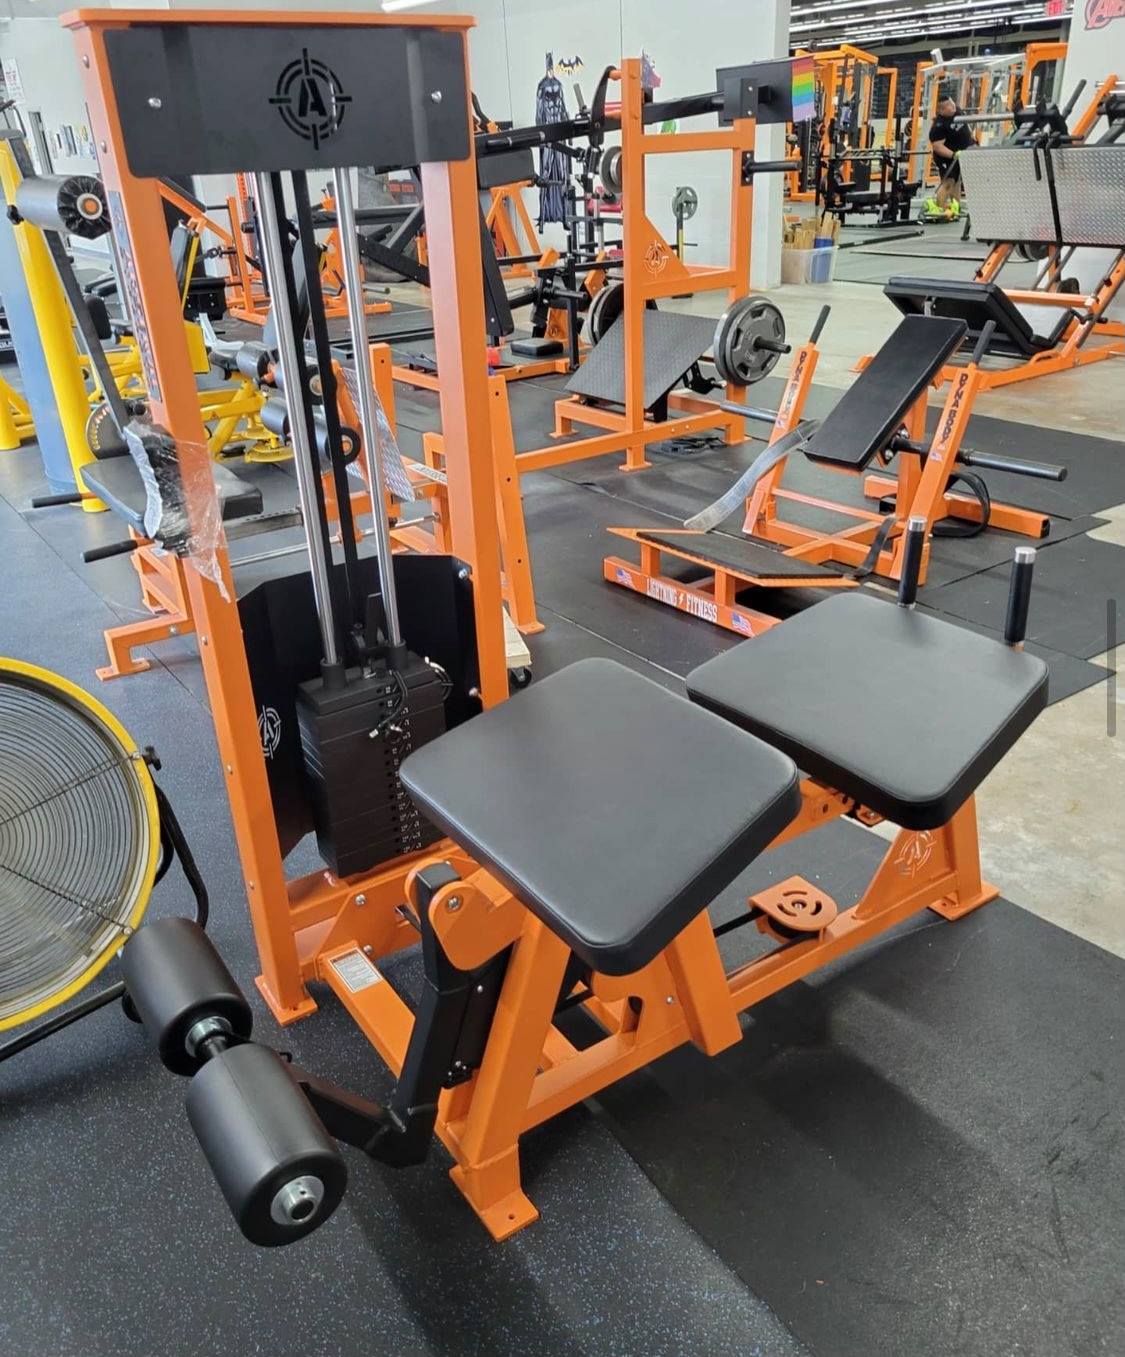
Remember, consistency and proper form are key to achieving your desired results. So, embrace the challenge and let the Reloaded Power Squat Machine guide you on your journey to stronger, more powerful legs.

